Pavlova Perfection
Pavlova is a tradition in New Zealand. There are ongoing debates between New Zealanders and the Australians as to which nation created this very sweet dessert. The Australians claim it as their own, saying it was created for Anna Pavlova, the famous ballerina who visited their country.
Regardless, it is a favourite dessert with Antipodeans. It is very easy to make, and you can decorate it as you please with any fresh fruit your family adores.
If you haven’t tried it, pavlova is like a meringue, but it has a gooey chewy centre. It is not solid throughout like a meringue.
The photo above is the pavlova we created for my daughter’s 13th birthday party. She added extra decorations to make the pavlova more festive for her friends. Of course, you can do the same.
Pavlova
4 egg whites (at room temperature)
225g caster sugar
3 teaspoons cornflour
3 teaspoons white or malt vinegar
1 teaspoon vanilla essence
Filling
300ml whipping cream
Fresh fruit (raspberries, strawberries etc)
Preheat oven to 150° C/Gas 2. Using an electric mixer, beat egg whites until very stiff. Slowly add the sugar, a little at a time while beating until fully mixed in. Slow the beater and add the cornflour, vanilla essence and vinegar.
Draw a 20cm circle on baking paper. Turn the paper upside down and place on the baking tray. The circle should still be visible. Pile the egg mixture onto the circle. With a knife or spatula, spread the mixture to within 2cm of the edge and level the mixture to suit yourself. In our family we like the pavlova to look a bit like a mountain with craters and crevasses, rather than cake shaped. Place into the oven and bake for 45 mins, then turn the over off and leave to cool in the oven. Carefully place the pavlova onto a serving plate, removing the baking paper. Decorate with whipped cream and the fresh fruit of your choosing.
Once ready, sit down and devour with your family and friends. You will experience a real sugar blast as a result, so perhaps games with your family are next on the list, in order to work off the calories and sugar rush. Enjoy!!
Other Delicious Delights
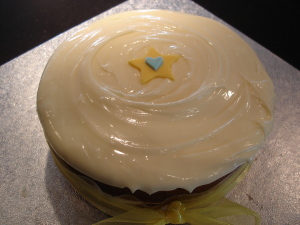
Classic Carrot Cake
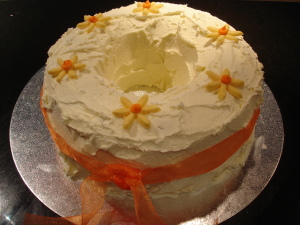
Bonanza Banana Cake
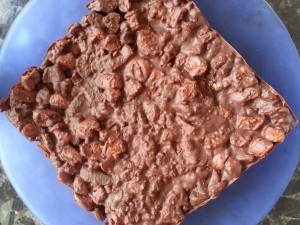
Rocky Road Cookies for Summertime Fun
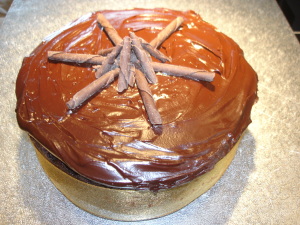
Death by Chocolate Cake